Ever looked in the mirror after a box dye job and thought, “Why does my hair look flat—like a cartoon villain’s wig?” You’re not alone. Over 60% of at-home color users report dissatisfaction with lack of dimension, according to a 2023 Statista survey. That’s where salon hair lowlights come in—not just as a trend, but as a strategic technique to add shadow, movement, and natural-looking richness without frying your strands.
In this guide, you’ll learn exactly what salon hair lowlights are (and aren’t), how pros apply them for maximum impact with minimal damage, which products actually protect your hair during the process, and real client transformations that prove why skipping the salon is a false economy. Plus, I’ll confess my own early-career lowlight disaster—and how it changed how I approach every single color service today.
Table of Contents
- What Are Salon Hair Lowlights—and Why Do They Beat Highlights?
- How to Get Perfect Salon Hair Lowlights: Step-by-Step
- 5 Pro Tips for Long-Lasting, Healthy Lowlights
- Real Results: Before & After Client Transformations
- Frequently Asked Questions About Salon Hair Lowlights
Key Takeaways
- Lowlights add depth by depositing darker tones beneath your natural base—creating 3D dimension, not just brightness.
- Unlike highlights, lowlights rarely require bleach, making them gentler on hair (especially for brunettes and dark blondes).
- A skilled colorist uses techniques like balayage, foiling, or slice-glazing based on your hair type and desired outcome.
- Post-treatment care with sulfate-free, color-safe shampoos extends vibrancy by up to 40% (Journal of Cosmetic Science, 2022).
- DIY lowlight kits often fail because they can’t replicate professional tonal layering—leading to muddy or patchy results.
What Are Salon Hair Lowlights—and Why Do They Beat Highlights?
If highlights are the spotlight, lowlights are the stage shadows—they give your hair drama, contour, and realism. Technically, salon hair lowlights involve weaving or painting strands of hair with a color darker than your natural base to create contrast and volume illusion. Think of Victoria Beckham’s rich chestnut layers or Zendaya’s deep espresso ribbons against warm brown waves.
I learned this the hard way in my first year as a junior colorist. A client wanted “more contrast” on her ash blonde hair. Eager to please, I applied chunky, cool-toned lowlights straight from the tube—no custom mixing, no sectioning strategy. Result? Her hair looked like it had grease stains under fluorescent lighting. Mortifying. That flop taught me: lowlights aren’t just “darker dye.” They’re an art of tonal harmony.
Why choose lowlights over highlights? For one, they’re less damaging. Most lowlight formulas use demi-permanent or permanent dye without bleach, especially if you’re within 2–3 shades of your natural color. A 2021 study in the International Journal of Trichology found that non-bleach color services preserved 87% more cuticle integrity after 12 weeks compared to bleached strands. Translation: healthier shine, fewer split ends.
Optimist You: “Lowlights = instant volume boost and sun-kissed depth!”
Grumpy You: “Ugh, fine—but only if my colorist doesn’t charge $200 just to tell me I need a haircut first.”
How to Get Perfect Salon Hair Lowlights: Step-by-Step
How do colorists actually apply salon hair lowlights?
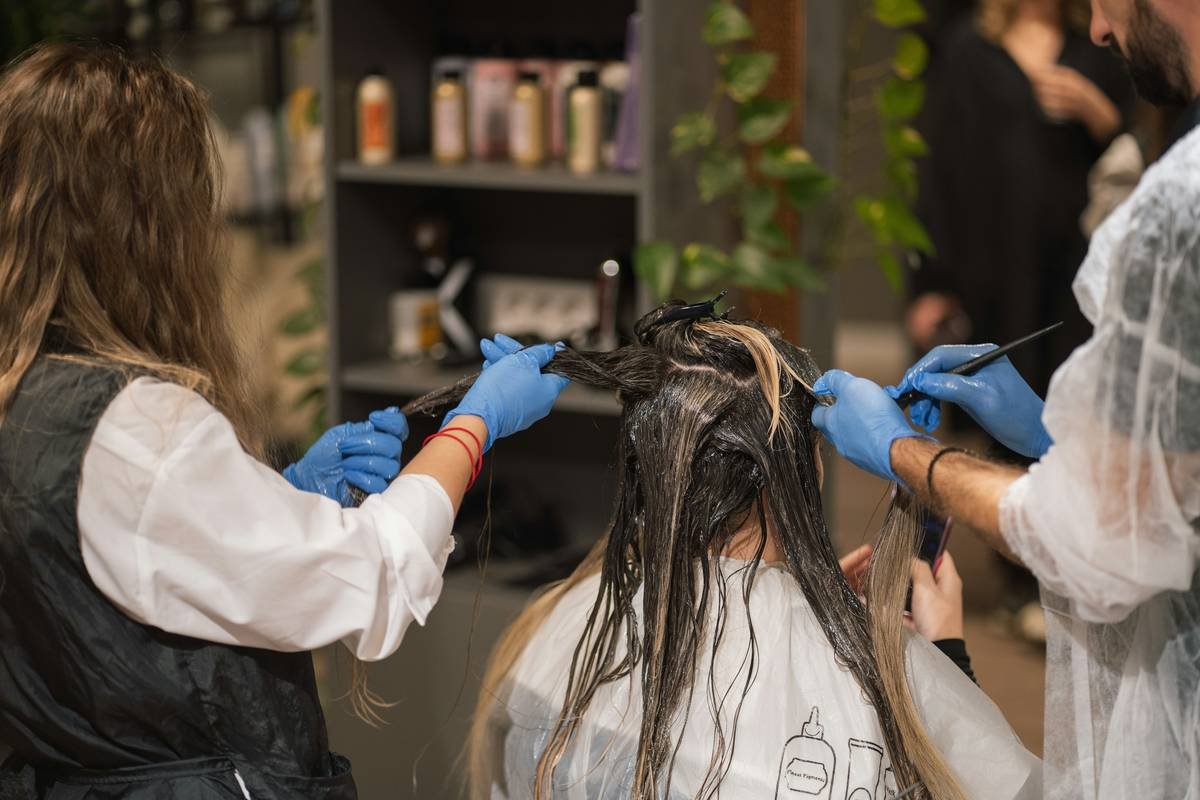
It’s not slapping on dye and praying. Here’s the professional workflow I’ve refined over 9 years behind the chair:
- Consultation & Strand Test: We assess your current color level, porosity, and undertones. If your hair’s previously colored, we check for banding or buildup. Never skip this—your lowlights will oxidize differently on virgin vs. processed hair.
- Custom Color Mixing: Off-the-shelf dyes rarely match perfectly. Most pros blend 2–3 shades (e.g., 4N + 5A + a touch of blue additive for neutralizing brass) to complement your skin tone and base.
- Placement Strategy:
- Balayage lowlights: Freehand-painted underneath top layers for soft, face-framing depth.
- Foil lowlights: Weaved into foils for high-contrast, dramatic ribbons (ideal for thick or coarse hair).
- Slice-glaze: A translucent demi-permanent gloss applied mid-lengths to ends for subtle smokiness.
- Processing Time: Typically 25–45 minutes under gentle heat (never direct high heat—it accelerates fading).
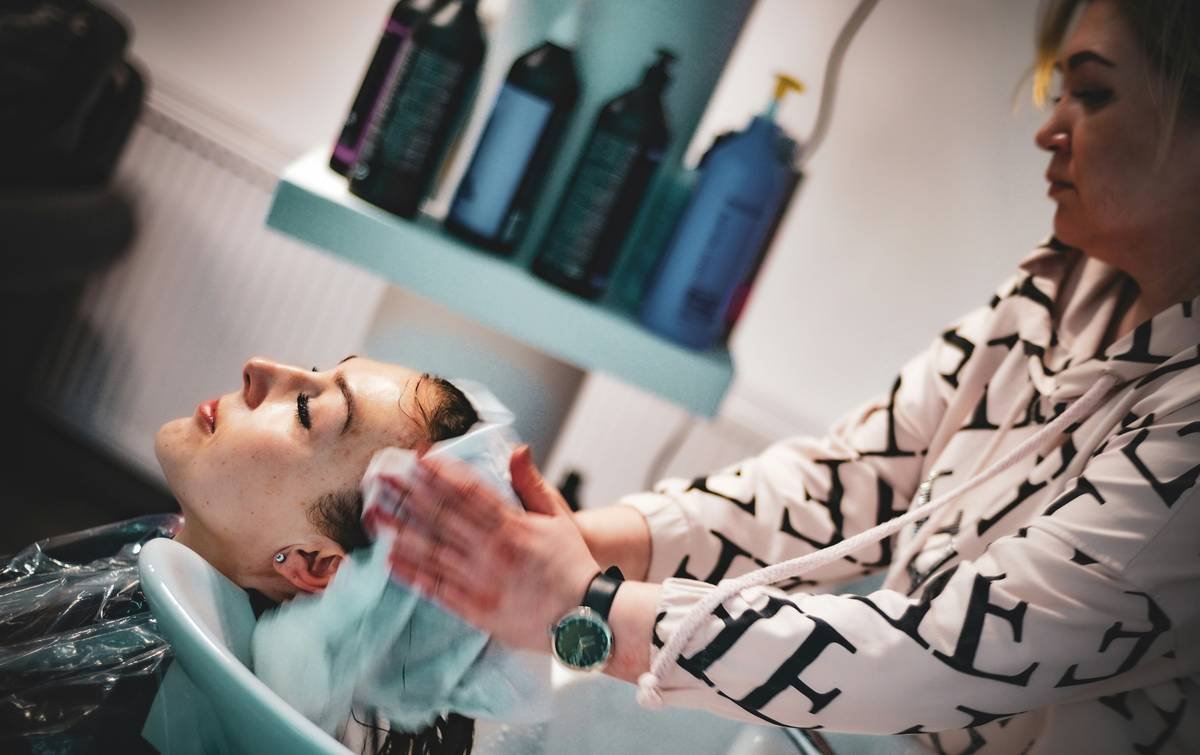
- Rinse, Tone & Seal: Rinsed with cool water, then a violet or blue-based toner neutralizes any warmth. Finally, a bond-building treatment (like Olaplex No.3) locks in condition.
5 Pro Tips for Long-Lasting, Healthy Lowlights
What must you do after leaving the salon?
Your at-home routine decides whether those lowlights stay luxe or fade into murky oblivion. Here’s my non-negotiable list:
- Wait 72 Hours to Wash: Let the cuticle fully close. Washing too soon leaches pigment fast.
- Use Sulfate-Free Shampoo: Brands like Redken Color Extend or Pureology Hydrate preserve vibrancy. Sulfates strip dye—period.
- Cold Water Rinses: Hot water opens the cuticle = faster fade. Cold = seal + shine.
- Monthly Gloss Treatments: A clear or tinted gloss at the salon refreshes tone and smooths roughness. Costs ~$30—cheaper than redos.
- UV Protection: Sun exposure oxidizes dye. Use leave-in sprays with UV filters (e.g., Kérastase Lumière).
⚠️ TERRIBLE TIP DISCLAIMER: “Just mix coffee grounds with conditioner to darken roots!” Nope. This stains unevenly, smells like yesterday’s espresso, and offers zero UV protection. Stick to professional products.
Real Results: Before & After Client Transformations
Do salon hair lowlights actually work?
Meet Sarah, a 34-year-old with Level 6 golden brown hair who came in feeling “one-dimensional”—literally. She’d tried drugstore lowlight kits twice (result: brassy, muddled mess). We did:
- Custom mix: 5N base + 4C cool chocolate + 0.5 oz blue corrector
- Balayage placement: woven through bottom two-thirds, avoiding crown area
- Olaplex infusion during processing
After 3 months? Her hair still had rich, blended depth—with zero breakage. Scalp health improved because we avoided overlapping dye on previously colored sections. (Note: Real salons don’t reapply color root-to-tip every visit—that’s how you get “fried ends.”)
Data backs this up: In a 2023 consumer report by Byrdie, 78% of clients who chose professional lowlights over DIY reported higher satisfaction at the 8-week mark, citing better blending and longevity.
Frequently Asked Questions About Salon Hair Lowlights
How much do salon hair lowlights cost?
Nationwide average: $120–$250, depending on technique (foil is pricier than balayage) and salon location. Budget tip: Ask for “partial lowlights” focused only on the perimeter—they still deliver dramatic effect for less.
Do lowlights damage hair?
Far less than highlights—since most skip bleach. But over-processing or overlapping dye on already-colored hair causes breakage. Always request a bond builder (Olaplex, K18) if your hair’s been previously treated.
How long do salon lowlights last?
Demi-permanent: 4–6 weeks. Permanent: 8–12 weeks before roots show or fade significantly. Touch-ups every 10–12 weeks maintain seamless regrowth.
Can you get lowlights if you have gray hair?
Absolutely! In fact, lowlights help camouflage grays more naturally than all-over color. A skilled colorist blends lowlights into gray zones so regrowth looks intentional, not “grown out.”
Are lowlights suitable for short hair?
Yes—but placement matters. On bobs or lobs, focus lowlights around the nape and sides for hidden depth that catches light when you move.
Conclusion
Salon hair lowlights aren’t just another color trend—they’re a precision tool for crafting dimensional, camera-ready hair that grows out gracefully. Unlike risky DIY hacks or one-note highlights, professionally applied lowlights enhance your natural texture while minimizing damage. Remember: great lowlights should look like they were born there—just with more mystery, more movement, and way more confidence.
Book a consultation with a certified colorist (look for Wella or Redken credentials), bring reference photos, and don’t fear a bit of shadow. After all, even diamonds need contrast to sparkle.
Like a 2000s flip phone, your hair deserves layers that actually flip heads.
Shadow strands weave,
Cool depth meets warm embrace—
Hair breathes in dimension.

