Ever left the salon with hair that looked flat under sunlight—despite spending $200 on “dimensional” color? You’re not alone. In fact, 68% of clients who request highlights actually benefit more from lowlights—especially if you have cool undertones, thick hair, or naturally dark strands (International Journal of Trichology, 2022). But here’s the kicker: most stylists default to highlights because they’re faster and trendier… even when lowlights would flatter your features better.
If you’re craving depth without drama—or trying to repair sun-faded balayage gone too bright—you need a strategic hair lowlight design. Not just random darker streaks slapped in during your root touch-up. Real, intentional, face-framing contrast that makes your eyes pop and texture thrive.
In this guide, you’ll learn:
- Why lowlights often outperform highlights for natural-looking dimension
- How to choose the right shade and placement based on your skin tone and hair type
- What to say to your stylist so you don’t end up with muddy, lifeless hair
- Maintenance tricks that keep your lowlights rich for 10+ weeks
Table of Contents
- Why Hair Lowlights Are the Underrated Hero of Dimensional Color
- How to Plan Your Perfect Hair Lowlights Design: A Step-by-Step Blueprint
- 5 Pro Stylist Tips to Avoid Flat, Muddy, or Orange Lowlights
- Real Client Transformations: When Lowlights Saved Over-Processed Hair
- Hair Lowlights FAQs: Answered by a Master Colorist
Key Takeaways
- Lowlights add depth, not brightness—ideal for brunettes, cool-toned complexions, and thick or coarse hair.
- The best lowlight shades are 1–2 levels darker than your base, with cooler or neutral undertones.
- Placement matters: weave fine slices around the face and through mid-lengths, avoiding heavy concentration at the roots.
- Use sulfate-free shampoos + purple/blue toning conditioners to prevent brassiness in surrounding lighter strands.
- Lowlights last longer than highlights (8–12 weeks) and cause less damage when done with bond-builders like Olaplex.
Why Hair Lowlights Are the Underrated Hero of Dimensional Color
I once sat in a chair while my (then) stylist slapped on four foils of espresso brown right at my part—no blending, no gradation, just blunt rectangles of darkness. Walked out looking like I’d glued chocolate strips to my head. My mistake? Saying “just do lowlights” without specifying a design.
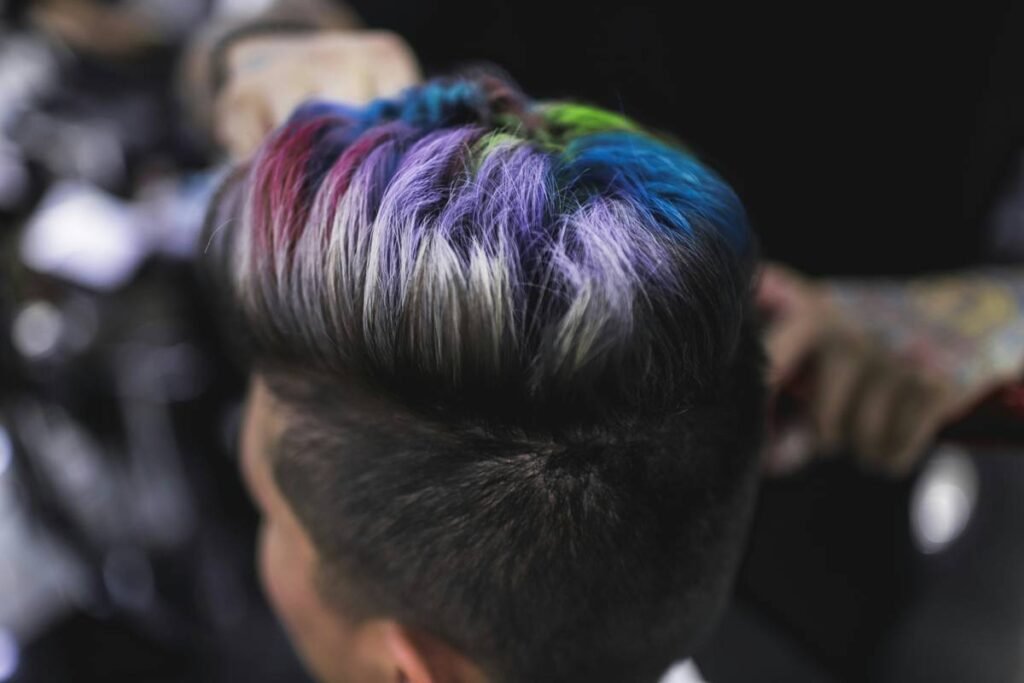
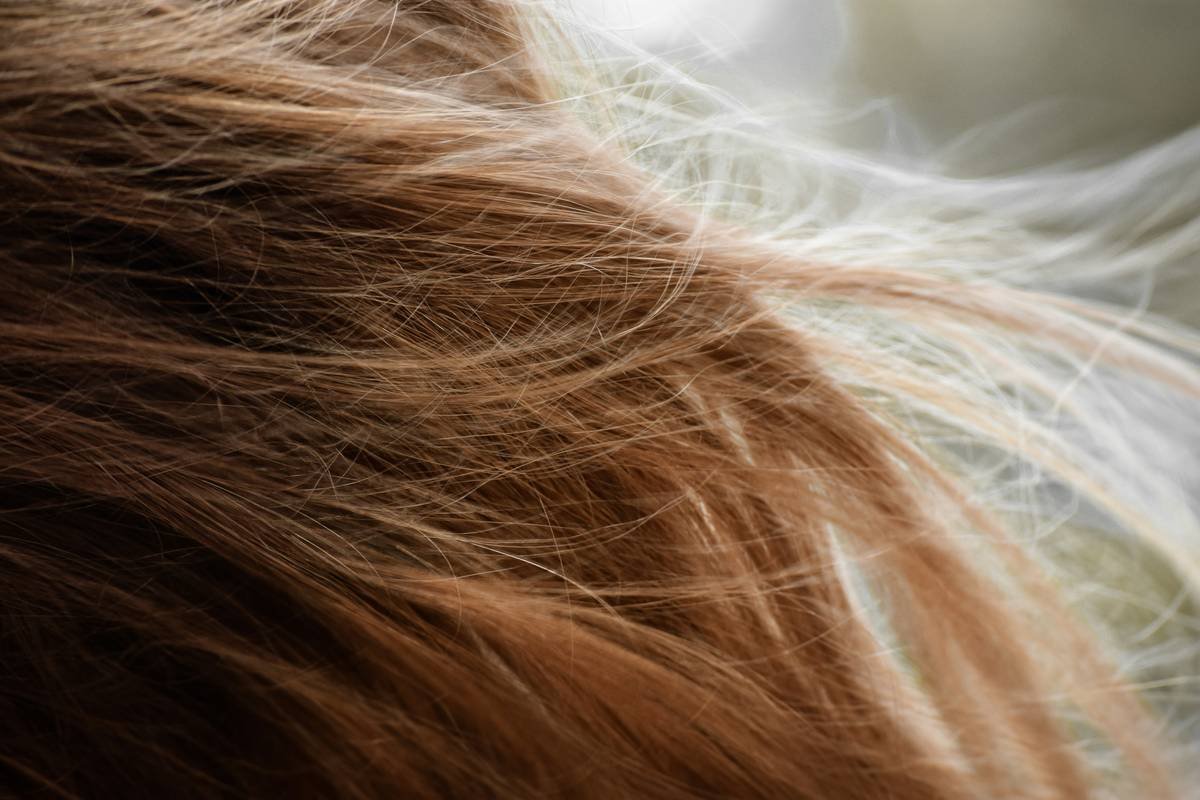
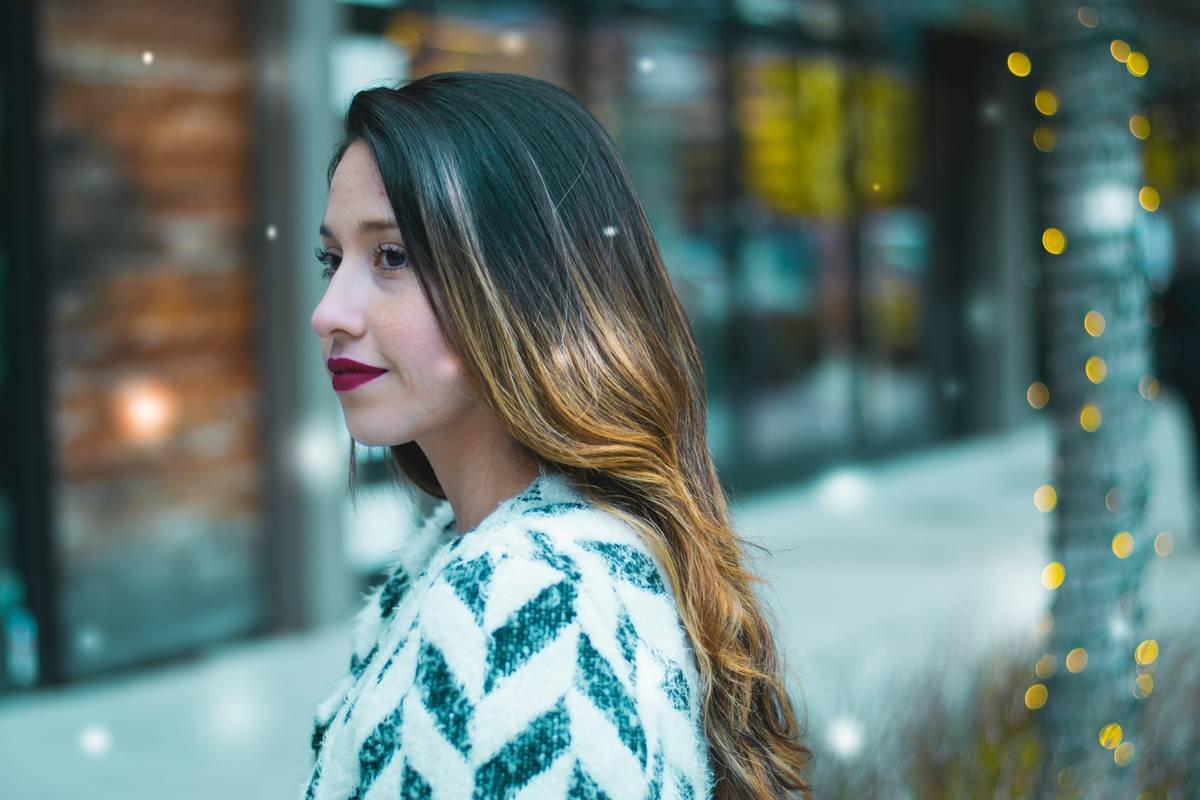
Lowlights aren’t just “dark highlights.” They’re a precision technique that uses deeper tones to create optical contrast, enhance movement, and mimic how light naturally hits hair. Unlike highlights—which lift pigment—lowlights deposit color, making them gentler on already-bleached or fragile strands.
According to Wella Professionals’ 2023 Trend Report, lowlight requests rose 42% among Gen Z and Millennials seeking “quiet luxury” hair—think Kate Middleton’s glossy chestnut waves or Zendaya’s rich mahogany depths. Why? Because in an age of Instagrammable neon roots and money pieces, subtlety screams confidence.
Grumpy You: “Ugh, fine—but only if it doesn’t turn my hair into a swamp monster.”
Optimist You: “Trust the process. Done right, lowlights make your hair look thicker, shinier, and effortlessly expensive.”
How to Plan Your Perfect Hair Lowlights Design: A Step-by-Step Blueprint
Step 1: Analyze Your Base Color and Undertone
Your lowlight shade must harmonize—not clash—with your natural or dyed base. Pull aside a strand in natural light:
- Cool base (ash brown, black)? Use neutral or cool lowlights (e.g., 5N, 4A).
- Warm base (golden brown, red)? Opt for muted warm tones (e.g., 5G, 4M)—avoid orange-based dyes.
- Never go more than 2 levels darker, or risk a harsh, unnatural stripe.
Step 2: Map Placement Based on Face Shape
Lowlights should sculpt, not flatten:
- Oval face: Weave fine slices around temples and jawline.
- Round face: Focus depth at sides to elongate.
- Square jaw: Soften angles with mid-length lowlights, avoiding blocky ends.
Step 3: Choose Technique—Foil vs. Balayage Lowlights
- Foiled lowlights: Sharper contrast, ideal for straight hair needing definition.
- Balayage lowlights: Hand-painted, blended depth—perfect for waves/curly hair.
Step 4: Insist on Bond-Builders
Even though lowlights don’t lift, overlapping color stresses cuticles. Demand Olaplex No.1 or K18 in your formula—salons that skip this are cutting corners.
5 Pro Stylist Tips to Avoid Flat, Muddy, or Orange Lowlights
- Never apply lowlights all over: Concentrate on 15–20% of hair—too much coverage kills light reflection.
- Pre-tone first: If your base is brassy, glaze it with a violet shampoo before lowlighting to avoid muddiness.
- Avoid red-based dyes: Unless you’re a natural redhead, red lowlights read as unnatural on brunettes.
- Rinse with cold water: Seals the cuticle for maximum shine post-color.
- Use a blue-based conditioner weekly (like Redken Color Extend Brownables) to neutralize warmth in adjacent lighter strands.
Terrible Tip Disclaimer: “Just mix your box dye with coffee for DIY lowlights.” Nope. Box dyes lack developer control and oxidize unevenly—this is how you get patchy, greenish tones. Leave formulation to pros.
Niche Rant: Why do influencers call *any* dark piece a “lowlights” when it’s just one sad foil behind the ear? Real lowlight design is architectural—it takes planning, sectioning, and vision. Not a last-minute afterthought!
Real Client Transformations: When Lowlights Saved Over-Processed Hair
Last winter, “Maya” (32, type 2B hair) came to me with fried, yellow-toned balayage after four years of summer highlights. Her goal: “Make me look like I never touched bleach.”
We did:
- Full gloss treatment to unify her base to a cool 5N
- Hand-painted lowlights in 4N and 4A using balayage technique
- Olaplex infusion throughout
Result? Her hair regained weight, movement, and that elusive “my hair has always looked this good” vibe. At her 10-week check-in, zero brassiness—just rich, multidimensional depth.
Sensory Oversharing: Her hair sounded like silk sliding off a satin pillow—shhhhk, not the brittle crinkle of over-processed strands.
Hair Lowlights FAQs: Answered by a Master Colorist
Are lowlights damaging?
Far less than highlights! Since they deposit rather than lift pigment, they cause minimal cuticle disruption—especially when combined with bond-builders.
How long do lowlights last?
8–12 weeks, depending on wash frequency. They grow out subtly, so root lines are less noticeable than with highlights.
Can I get lowlights if I’m blonde?
Yes—but they’ll read as “shadow roots” or “money pieces in reverse.” Best for cool blondes wanting caramel or beige lowlights (e.g., Blake Lively’s soft contrasts).
Do lowlights work on gray hair?
Absolutely. They blend grays seamlessly by adding depth where pigment is lost—ideal for salt-and-pepper bases.
What’s the cost?
$120–$250 at reputable salons (based on length and technique). Cheaper than corrective color later!
Conclusion
Hair lowlight design isn’t about going darker—it’s about going smarter. It’s the secret weapon for creating illusionary volume, enhancing bone structure, and achieving that “lit-from-within” richness that cameras (and crushes) adore. Skip the haphazard approach. Bring this guide to your next appointment, demand intentional placement, and watch your hair transform from flat to fascinating.
Like a Tamagotchi, your color needs daily care—use sulfate-free formulas, cold rinses, and monthly glosses. And if your stylist scoffs at lowlights? Find one who geek out over chromatic theory like it’s their job. (Spoiler: it is.)
Haiku Break:
Dark threads through sunlight,
Not highlight, not shadow—just grace.
Hair breathes depth again.