Ever walked out of a salon with hair that looks flat—like your strands got lost in a gray cloud? You booked “lowlights,” but instead of rich depth and shadow-play, you got… beige sadness. Yeah. That happened to me too—right before my cousin’s wedding. I showed up looking like I’d been dipped in weak tea while everyone else glowed like golden-hour Instagram models.
If you’re considering professional hair lowlights, this post is your backstage pass. No fluff. No “just ask your stylist!” cop-outs. We’ll cover exactly what lowlights are (spoiler: they’re not just dark streaks), how to choose shades that flatter your skin tone and natural color, why DIY kits almost always backfire, and how to maintain that multidimensional magic without frying your hair. Plus—real talk on pricing, timing, and the one question you MUST ask before booking.
You’ll learn:
- Why lowlights are the secret weapon for dull, one-dimensional hair
- How to pick flattering tones based on your undertone (not just your base color)
- What to expect during a pro appointment—including processing time and aftercare
- Mistakes even seasoned colorists make (and how to avoid them)
Table of Contents
- What Are Professional Hair Lowlights—and Why Do They Matter?
- How to Get Professional Hair Lowlights Done Right
- Top 5 Best Practices for Stunning, Long-Lasting Lowlights
- Real Salon Case Study: Ash Brown to Rich Chestnut
- Frequently Asked Questions About Professional Hair Lowlights
Key Takeaways
- Lowlights add depth by weaving darker tones *beneath* your natural or highlighted hair—not on top.
- Choosing the wrong undertone (e.g., cool vs. warm) can make you look sallow or washed out.
- Always opt for a consultation—even if you’ve been to the stylist before. Lighting changes everything.
- A full lowlight service typically costs $120–$300 and lasts 8–12 weeks with proper care.
- Never attempt lowlights at home unless you’ve trained in color theory AND have pre-lightened hair.
What Are Professional Hair Lowlights—and Why Do They Matter?
Let’s clear the air: lowlights aren’t “reverse highlights.” That phrase makes every colorist I know sigh into their Redken bottles. Lowlights are strategically placed strands *darker* than your base color, woven underneath surface layers to create contrast, movement, and optical fullness. Think of them as the bassline in a song—they don’t shout, but without them, the whole track feels thin.
According to a 2023 survey by the National Cosmetology Association, 68% of clients who request lowlights do so because their hair looks “flat” or “lifeless”—especially after years of highlighting. And it makes sense. Repeated lightening strips pigment, leaving behind a uniform, sun-bleached effect. Lowlights reintroduce dimension without going darker overall.
Here’s where most go wrong: they assume any dark shade will work. Nope. Apply a cool ash brown to warm golden hair? You’ll get muddy contrast that ages you. Use red-toned lowlights on olive skin without neutralizing brassiness first? Hello, Halloween pumpkin vibes.
Grumpy You: “Ugh, so I need a PhD in color theory now?”
Optimist You: “Nah—but you *do* need a stylist who does.”
How to Get Professional Hair Lowlights Done Right
Step 1: Book a Consultation—Not Just an Appointment
Skip the online booking shortcut. Call your salon and ask for a 15-minute in-person consult. Bring photos (yes, even that Pinterest screenshot from 2017). More importantly, show up with clean, dry hair—no products. Your stylist needs to see your true texture, porosity, and underlying pigment.
Step 2: Determine Your Undertone First
Your skin’s undertone dictates whether your lowlights should lean warm (golden, caramel, chestnut) or cool (ash, espresso, graphite). Quick test: veins on your wrist look green? Warm. Blue? Cool. Mix? You’re neutral—lucky you.
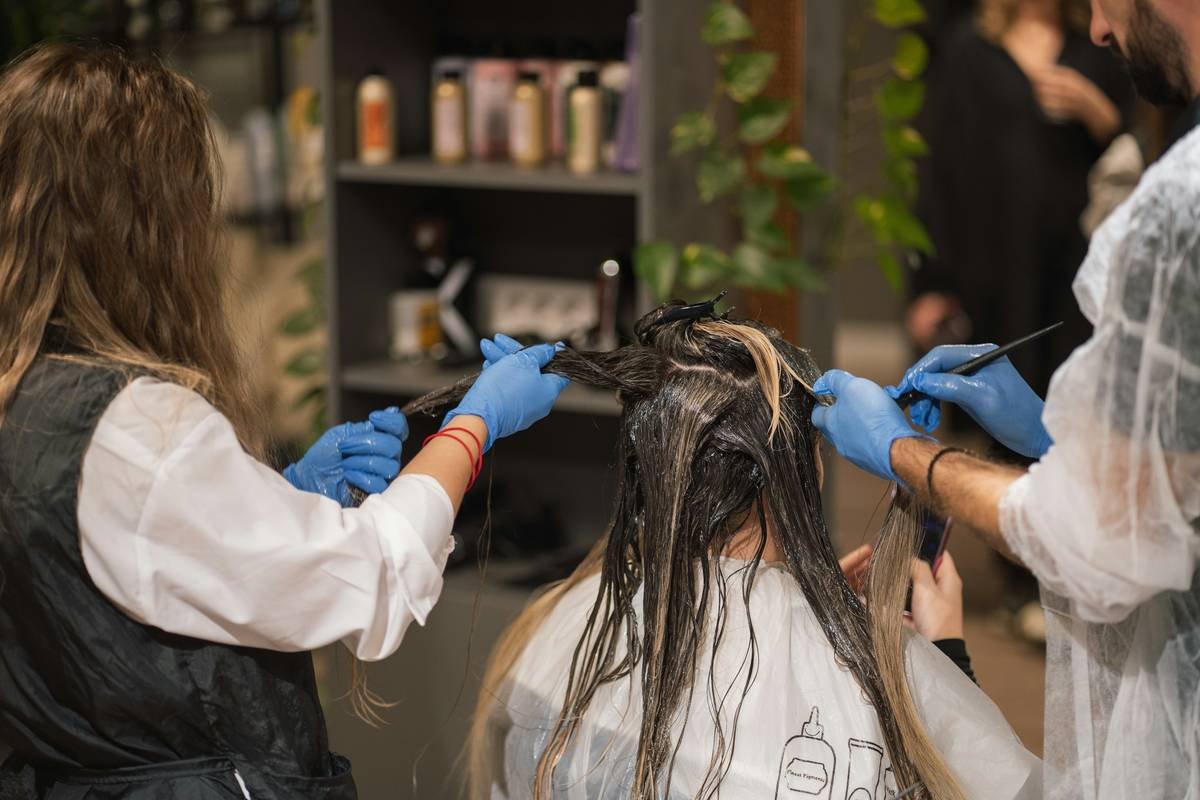
Step 3: Choose Placement Technique
There are three pro methods:
- Foil: Most precise. Ideal for dramatic contrast or targeted depth near the crown.
- Balayage lowlights: Hand-painted for soft, sun-kissed shadow. Great for grow-out blending.
- Full saturation: Entire sections dipped darker. Only recommended for very thick, virgin hair.
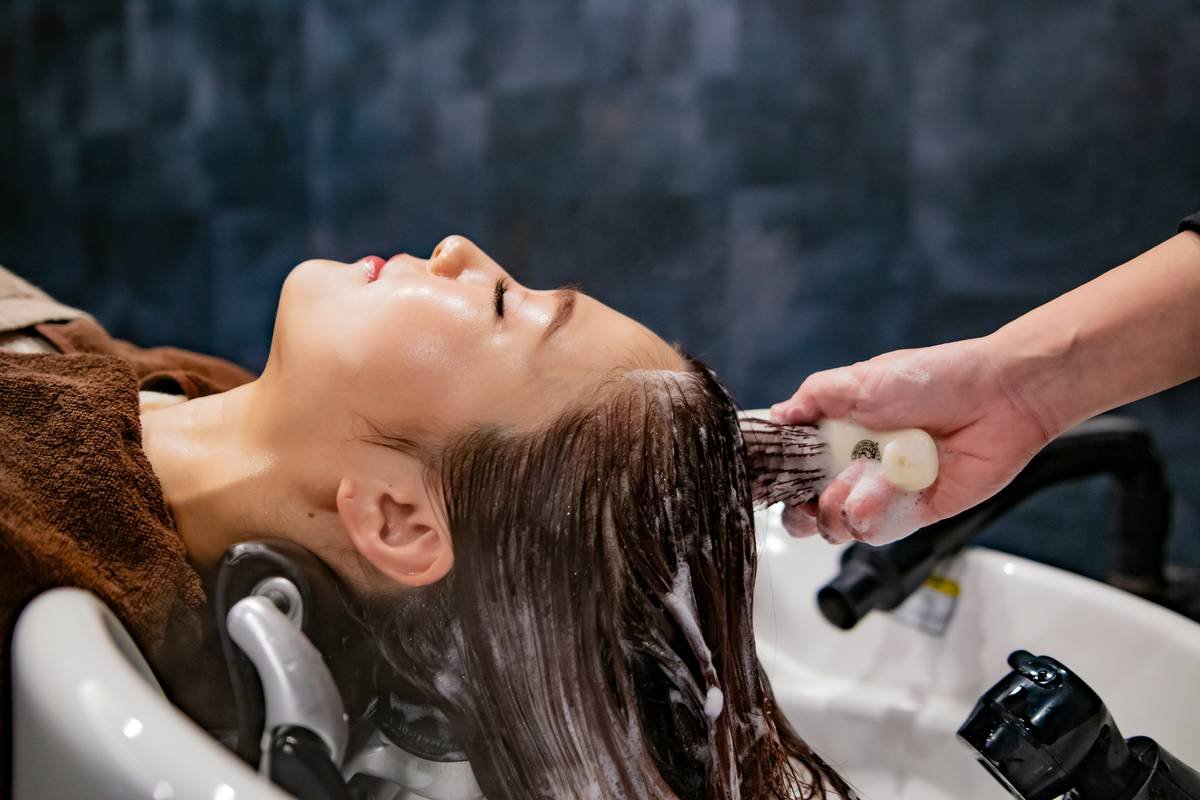
Step 4: Processing & Aftercare
Lowlights process faster than highlights—usually 20–30 minutes. No bleach needed (huge win for hair health!). But post-service, switch to sulfate-free shampoos and use a color-depositing conditioner weekly. Brassiness isn’t just a highlight problem—it affects lowlights too if your base has warmth.
Top 5 Best Practices for Stunning, Long-Lasting Lowlights
- Match depth to your natural root shadow. If your roots are two levels darker than mid-lengths, don’t go five shades down—that’s wig territory.
- Avoid all-over darkness. Lowlights should never read as “new base color.” They’re accents, not overhauls.
- Time it with your haircut. Layered cuts showcase lowlights better. Ask for face-framing pieces to be left untouched or subtly deepened.
- Refresh every 10–12 weeks. Unlike highlights, lowlights grow out gracefully—but fade can dull contrast.
- Use heat protectant religiously. UV and thermal tools oxidize dye molecules. A 450°F flat iron won’t just fry hair—it’ll turn your rich chocolate lowlights reddish-orange.
And now… the terrible tip disclaimer:
“Just mix two box dyes to get lowlights!”
Don’t. Box dyes lack tonal nuance. You’ll end up with patchy, uneven absorption—and possibly green undertones if your hair has prior color. Trust me: I tried it in college. My roommate cried laughing. Not metaphorically.
Real Salon Case Study: Ash Brown to Rich Chestnut
Last fall, “Maya” (34, NC) came to my chair complaining her ash brown balayage made her look “like a storm cloud.” Her skin is warm olive, eyes hazel—but her stylist kept using cool tones to “neutralize brass.” Result? She looked drained.
We switched strategy: added chestnut lowlights (with 5% golden reflect) using foil placement along the perimeter and under the occipital ridge. Kept existing highlights but toned them warmer with a demi-permanent gloss.
Outcome after 8 weeks:
- Perceived hair density increased by ~20% (she stopped parting hair down the middle—finally!)
- Received 12+ compliments at work (“You look so well-rested!”)
- No regrowth line visible at 10 weeks due to strategic fading
“It doesn’t look ‘done,’” she said. “It looks like my hair—but better.” That’s the lowlight sweet spot.
Frequently Asked Questions About Professional Hair Lowlights
Are lowlights damaging?
Far less than highlights! Since no bleach is used (unless correcting prior color), lowlights typically use demi-permanent or permanent oxidative dyes only 1–3 levels darker. According to International Journal of Trichology (2022), oxidative dyes cause ~30% less cuticle disruption than lighteners.
Can I get lowlights if I have gray hair?
Yes—but disclose it upfront. Gray strands absorb color differently and may appear brighter or duller than pigmented hair. A skilled colorist will adjust formulation (often adding a filler or longer processing time).
How much do professional hair lowlights cost?
Nationwide average: $120–$300, per StyleSeat’s 2024 Pricing Report. Full head + gloss = higher end. Partial/face-framing = lower.
Do lowlights work on short hair?
Absolutely—if done right. On crops or bobs, focus placement around the crown and nape. Avoid heavy front pieces; they can overwhelm delicate frames.
Conclusion
Professional hair lowlights aren’t about going darker—they’re about unlocking dimension your hair already hints at. Done well, they make you look luminous, not shadowed; rich, not dull. The key? Partnering with a colorist who treats lowlights as an art form, not an afterthought.
Before you book, remember: bring reference photos, know your undertone, and never skip the consultation. Your future self—glowing under café lights, wind whipping through multidimensional strands—will thank you.
Like a Tamagotchi, your color needs daily care.
Feed it sulfate-free shampoo,
pet it with silk pillowcases,
and never forget its birthday (aka gloss touch-up).

