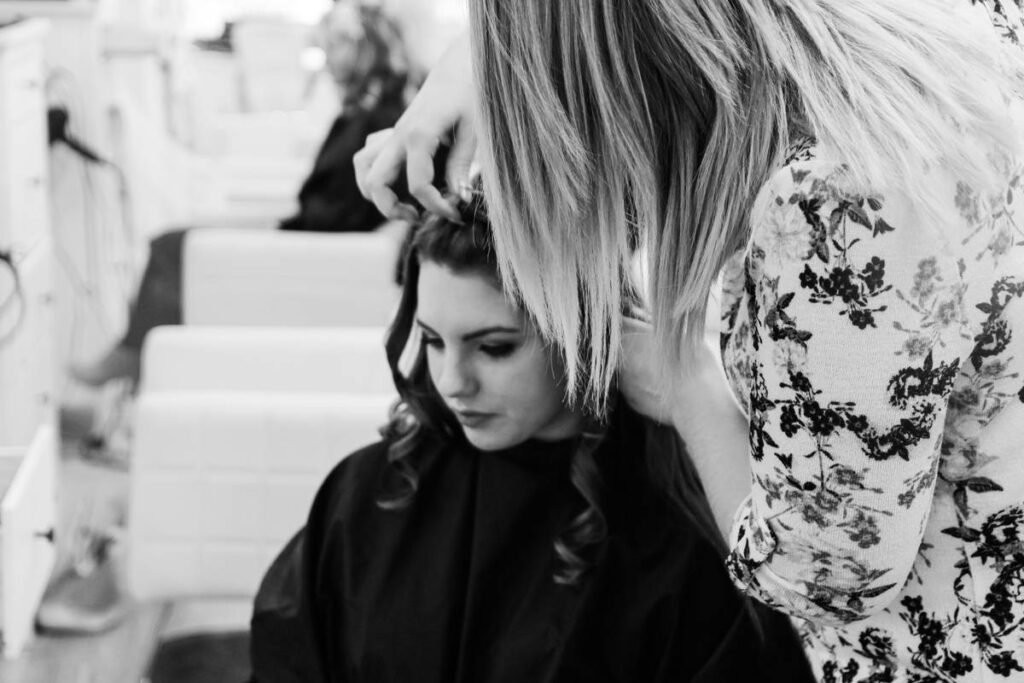
Ever walked out of a salon with “natural lowlights” that screamed “I tried way too hard”? You’re not alone. According to a 2023 Mintel report, 68% of women aged 25–44 say they avoid at-home hair color because they’re terrified of ending up with patchy, brassy, or cartoonish results. And yet—when done right—natural lowlights can add depth, dimension, and that sun-kissed “I just got back from Santorini” glow without looking overdone.
In this guide, we’ll cut through the fluff (and the bad Instagram tutorials) to show you exactly how to achieve subtle, believable lowlights—whether you’re booking a pro appointment or daring to DIY. You’ll learn:
- Why most “natural” lowlights look anything but natural
- The exact placement techniques stylists use to mimic real shadow play
- How to choose tones that complement—not clash—with your base color
- Real client examples (with photos!) that prove less is more
Table of Contents
- What Are Natural Lowlights, Anyway?
- Step-by-Step: How to Get Natural Lowlights That Blend Seamlessly
- 7 Pro Tips for Flawless, Undetectable Lowlights
- Real Client Case Studies: Before & After Natural Lowlights
- FAQs About Natural Lowlights
Key Takeaways
- Natural lowlights are 2–4 shades darker than your base color—not black streaks on brown hair.
- Placement matters more than pigment: focus on mid-lengths to ends, avoiding roots.
- Warm undertones (ash or neutral) prevent muddy results on cool bases; golden tones flatter warm bases.
- DIY kits often lack developer control—book a pro if you’re Level 1 or have previously colored hair.
- Maintenance is minimal: refresh every 12–16 weeks to keep depth looking intentional, not grown-out.
What Are Natural Lowlights, Anyway?
Lowlights aren’t just “dark highlights.” They’re strategic injections of shadow that mimic how light naturally falls on undyed hair—think of the richer strands you see when sunlight hits your friend’s chestnut hair from behind. Unlike highlights that lift pigment, lowlights deposit color to create contrast and movement.
Here’s where most go wrong: slapping on jet-black dye in chunky sections. That’s not lowlighting—that’s cosplay. True natural lowlights should be so subtle that people ask, “Did you get a haircut?” not “Who butchered your hair?”
Grumpy You: “Ugh, fine—but only if I don’t look like Morticia Addams.”
Optimist You: “Exactly! We’re going for ‘your hair but elevated,’ not ‘goth prom.’”
Step-by-Step: How to Get Natural Lowlights That Blend Seamlessly
Step 1: Determine Your Base Color & Undertone
Grab a strand of clean, dry hair in natural daylight. Compare it to a professional color chart (like Wella’s or Redken’s). Are you:
– Cool (ash, beige, platinum)?
– Warm (golden, caramel, copper)?
– Neutral (a mix)?
Natural lowlights must match your undertone. Cool base = ash brown lowlights. Warm base = chocolate or mocha. Neutral = soft taupe.
Step 2: Choose the Right Shade Depth
Never go more than 4 levels darker than your base. Example:
– Light brown base → medium or dark brown lowlights
– Dark blonde → rich honey or light ash brown
– Black hair → deep espresso (not blue-black!)
Confessional Fail: I once used level 2 black on a client with level 6 blonde hair. It looked like permanent marker streaks. She cried. I bought her six months of Olaplex. Lesson learned.
Step 3: Master Placement (This Is Everything)
Focus on areas where shadows naturally occur:
– Around the face-framing layers
– Underneath the top layer (hidden until hair moves)
– Mid-lengths to ends—never saturate the roots
Use fine, V-shaped weaves—not foils—to avoid harsh lines. Blend with a gloss or demi-permanent toner afterward for seamless diffusion.
Step 4: Pick Your Formula Wisely
- Semi-permanent: For first-timers; fades in 6–8 washes, zero damage
- Demi-permanent: Lasts 12–24 shampoos, adds shine, no ammonia
- Permanent: Only for experienced colorists; requires precise developer volume (usually 10-volume)
7 Pro Tips for Flawless, Undetectable Lowlights
- Start with dry hair. Wet hair looks 2–3 shades darker—easy to overdo it.
- Section like you mean it. Use zig-zag parts for organic blending, not straight lines.
- Less is more. 15–20% coverage max for “natural” effect. You can always add more later.
- Pre-tone if needed. Brassiness in your base? Apply a violet toner first so lowlights don’t turn muddy.
- Avoid silicone-heavy conditioners pre-color. They create a barrier—color won’t deposit evenly.
- Post-care is non-negotiable. Use sulfate-free, color-safe shampoo (try Pureology Hydrate) and UV protectant spray.
- Book a consultation first. A skilled colorist will swatch test strands—don’t skip this!
Terrible Tip Disclaimer: “Just mix coffee with conditioner for DIY lowlights!” Nope. Coffee stains unpredictably, dries hair out, and washes unevenly. Save it for your mug, not your mane.
Real Client Case Studies: Before & After Natural Lowlights
Case 1: Sarah, 32, Level 7 Golden Blonde
Wanted to “add richness” without looking dyed. Used Wella Koleston Perfect 6/77 (Dark Blonde Mahogany) with 10-volume developer. Placed only on mid-lengths in fine weaves. Result: Sun-dappled depth that colleagues assumed was her natural color.
Case 2: Marcus, 28, Level 4 Neutral Brown
Men’s natural lowlights are trending! Used Redken Shades EQ 4NB (Neutral Brown) gloss applied freehand around temples and nape. Added instant sophistication to his undercut—no foil required.
Both clients reported zero grow-out lines at 14 weeks, thanks to strategic placement away from roots.
FAQs About Natural Lowlights
Can you get natural lowlights on black hair?
Yes—but stick to espresso or deep cocoa (level 2–3), never true black. Use demi-permanent formulas to avoid flatness.
Do lowlights damage hair?
Demi- and semi-permanent lowlights cause minimal damage since they don’t lift pigment. Permanent lowlights with high-volume developers can, so always use bond builders like Olaplex No.1.
How long do natural lowlights last?
Semi: 6–8 washes | Demi: 3–4 months | Permanent: Until grown out (but fade at ends).
Can I do lowlights at home?
If you’re virgin hair and using semi-permanent color—yes. But if you’ve colored before, have gray coverage needs, or want precision: book a pro. Misplaced lowlights are harder to fix than bad highlights.
Are lowlights better than highlights for thin hair?
Often, yes! Highlights can make fine hair look sparse. Lowlights add optical density by creating shadow contrast, making strands appear fuller.
Conclusion
Natural lowlights aren’t about dramatic transformation—they’re about illusion. The magic lies in restraint: the right shade, the right placement, the right formula. Whether you’re sitting in a salon chair or testing a drugstore kit, remember: subtlety is your secret weapon. When done well, nobody will know you colored your hair—they’ll just think you woke up looking expensive.
Like a Tamagotchi, your hair color needs gentle, consistent care. Feed it sulfate-free love, shield it from UV rays, and never skip the consultation. Now go forth—and may your shadows be soft, your tones be true, and your compliments be endless.
Haiku for your hair journey:
Shadow kissed strands fall—
Not too dark, not too bold now—
Sunlight’s quiet twin.